

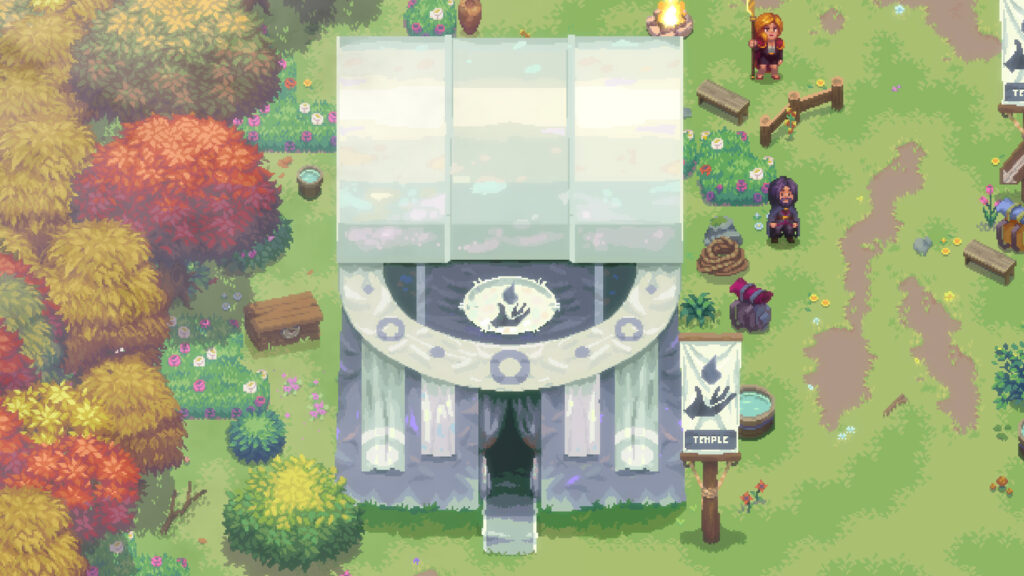
You Crashed the Runiverse!
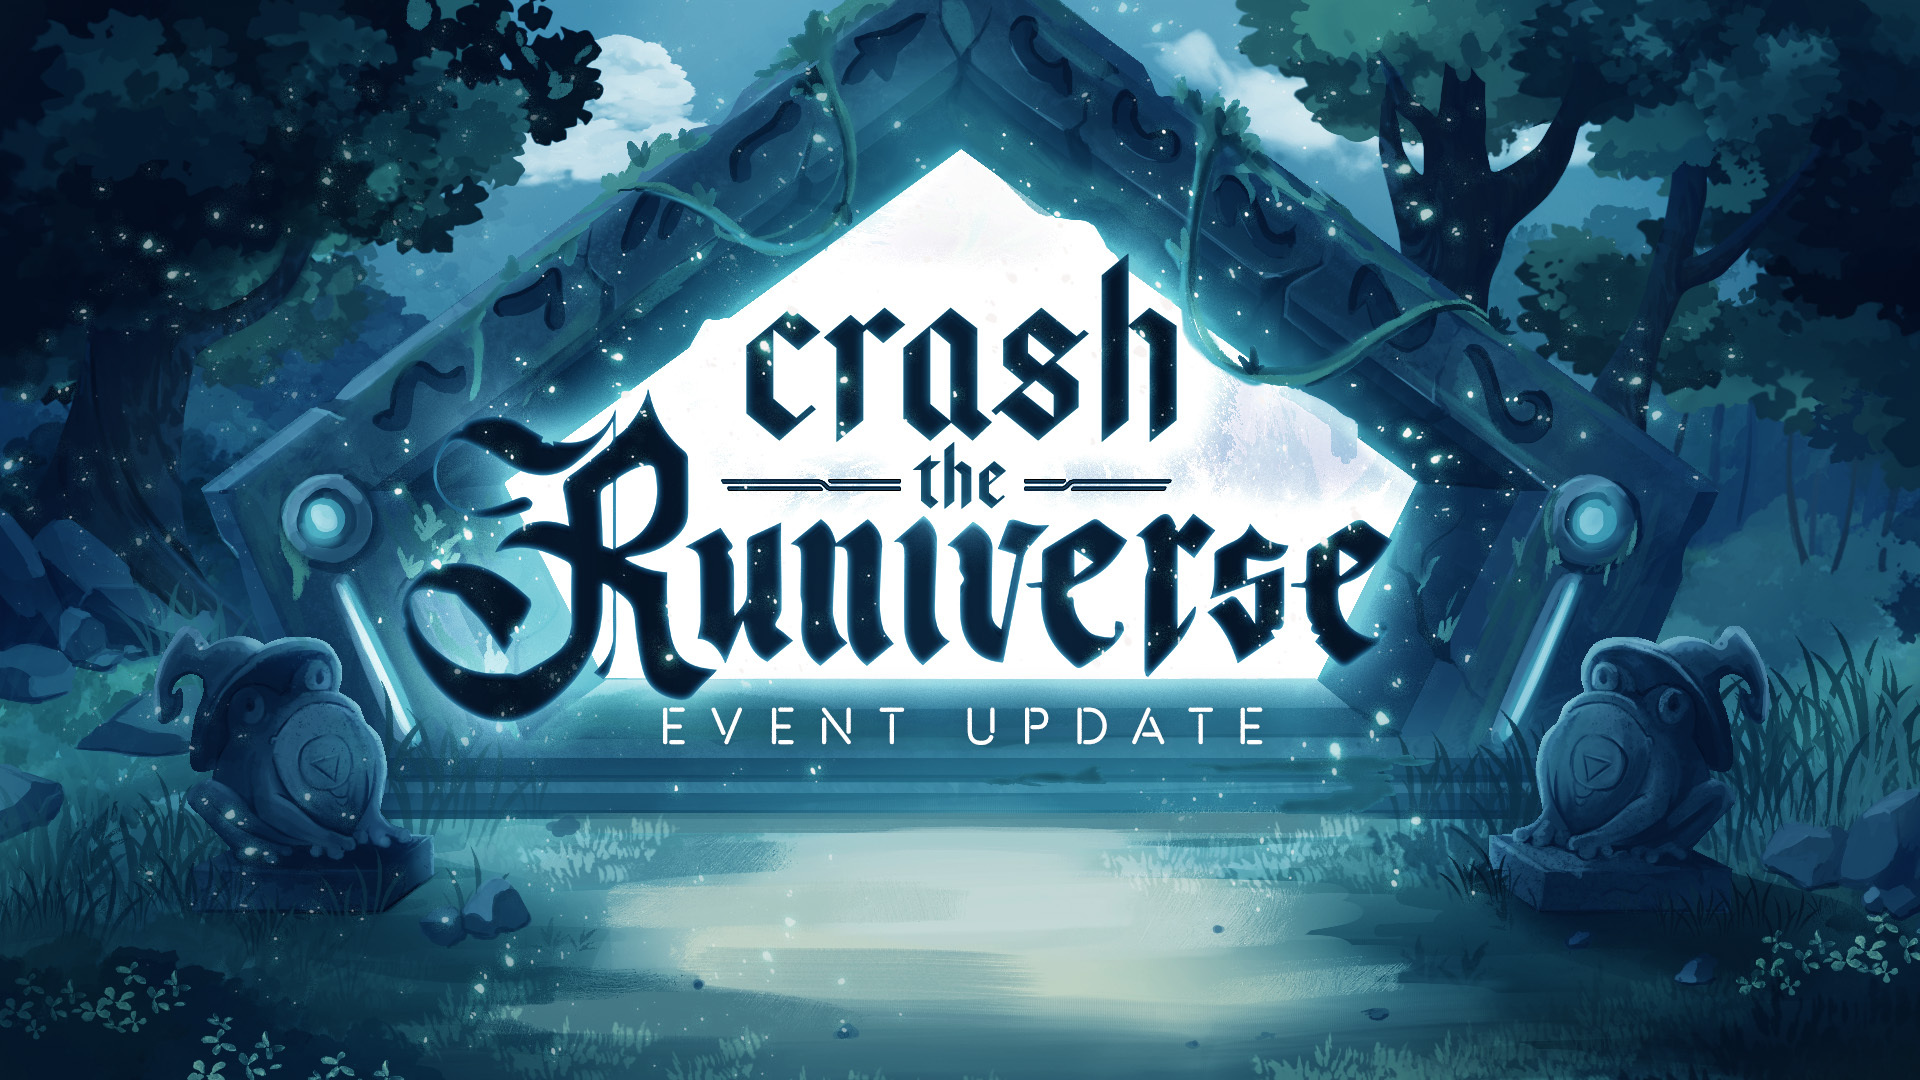
Day one of Crash the Runiverse was as illuminating as the Lake of Lanterns! We’re back with a follow-up. This post includes fight tips, workarounds for common issues, and best practices for submitting bug reports. Together, we’ll make the Runiverse extraordinary!
If you have questions about the event, most answers can be found in the quick start guide.
Now, let’s address the Loxodonta in the room:
What’s Going On With Server Stability?
Last night, we performed maintenance that addressed the majority of yesterday’s crashes. Let’s dive into a postmortem.
The crashes stemmed from issues in the server-side code. Leading up to the release, we made updates to improve stability and functionality—many of which aren’t visible on the front end. However, these changes inadvertently introduced bugs that caused problems like players being disconnected in dungeons and difficulties inviting others to parties.
The good news? Improvements we aimed for on launch were successful. For example:
- Load Distribution: Previously, players were unevenly distributed across servers, causing overcrowding. Now, server loads are evenly balanced.
- Server Stability: The servers themselves are more robust. We’ve eliminated the memory leaks that previously caused sluggish performance and required server resets.
- Increased Capacity: Player capacity on the servers has been successfully increased.
While these improvements have enhanced server stability and performance, the process of implementing them introduced new bugs that could only be identified with the large player numbers we saw during the Crash the Runiverse event. So, thank you for helping us stress-test the system!
These bugs are fixable, and we’re actively working to address them. Stability and performance are improving every day, and your patience and feedback are invaluable as we continue to refine the experience.
Upcoming Maintenance
In order to apply more stability updates, we are scheduling a maintenance at 1/15/25 – 4PM ET. Keep an eye on our Discord and socials to know when servers go live.
We’ll continue monitoring performance for further improvements during the event.
Quanta Airdrop, Mana, and Minting
Remember to earn Mana so you qualify for the 21 Trillion Quanta Airdrop! The more Mana you earn, the more Quanta you’ll be dropped!
Here’s how you earn Mana:
- Complete a dungeon for materials and recipes
- Use those materials and recipes to craft items
- Sacrifice your crafted items for Mana
- Congratulations! You now qualify for the airdrop
- Repeat to earn more Mana and qualify for more Quanta
We’ve seen some confusion about the difference between recipes and items. Recipes can’t be minted. You’ll need to build them into full items first using Quantum Essence, and then you can mint them directly from your item inventory.
Check out this video for a step-by-step guide!
Dungeon Mastery and You
We’ve seen many of you share a similar journey during your first big fight: craft gear, charge into the wilderness solo with the courage of a Forgotten Pony, get thoroughly defeated, form a party, watch your party get defeated, and then fumble your way to victory as a team by figuring out each boss’s mechanics.
There’s definitely room for us to improve the onboarding experience for these fights. For now, we’ve prepared a list of tips and tricks straight from the designers to help you out during this beta!
The Windmill

Truffle Beast: This hulking swamp creature strikes fast, inflicts Bleed, and can reliably stun players. It also has a chance to heal itself, making prolonged battles dangerous. A Tank with Taunt is essential for managing this beast.
Strategy:
- Taunt the Truffled Beast as soon as possible to control its attacks.
- Watch out for its self-healing after each scratch. Speed is key to taking it down.
Location: Follow the East Path after talking with Eizo.
Shroom Golem: Though slow, this towering foe boasts incredible resistance and can deal devastating damage. Its abilities become more effective when its allies are present, so focus on reducing their numbers.
Strategy:
- The Past Allergies Omen is a significant buff for the Golem.
- Prioritize cleansing Status Effects to mitigate its impact.
Location: Follow the West Path after talking with Eizo.
Colorful Souls: These colorful lights can wreak havoc if their roles in combat aren’t identified. Like your party, each Colorful Soul serves a specific function.
- Pink Soul: Highly resistant to damage and focused on protecting its allies.
- Green Soul: Heals its allies but also has tools to hinder your progress. Be vigilant!
Location: Follow the South Path after talking with Eizo.
Dread Pack: This ferocious trio — wolf, bear, and shadow — embodies relentless brutality. They focus on weakening your defenses as they unleash devastating damage.
Strategy:
- If your party deals heavy physical damage, prioritize the wolf. Its howls empower its allies to inflict massive damage.
- The bear can endure a lot but only targets one player at a time. Using Taunt is an excellent way to manage it.
Locations:
- Dread Pack: After completing Eizo’s spell, enter the second area around the Witch’s hut.
- Shadow Dread Pack: Around the lake in the West Path after talking to Eizo.
Witch of the Wild: This deadly duo works in tandem to annihilate players quickly. The Witch is fragile but deals heavy damage, while her resilient Beast defends her. Breaking their synergy is the key to victory.
Strategy:
- Stay clean of the Beast’s Status Effects. The Witch uses them to amplify her damage.
- Focus on the Beast first to cut off its ability to heal the Witch, but be prepared for its high resistance.
- Keep in mind that the Witch’s spells have unpredictable outcomes, with random effects that can turn the tide of battle.
Location: After completing Eizo’s spell, enter the Witch’s hut.
The Pyramid
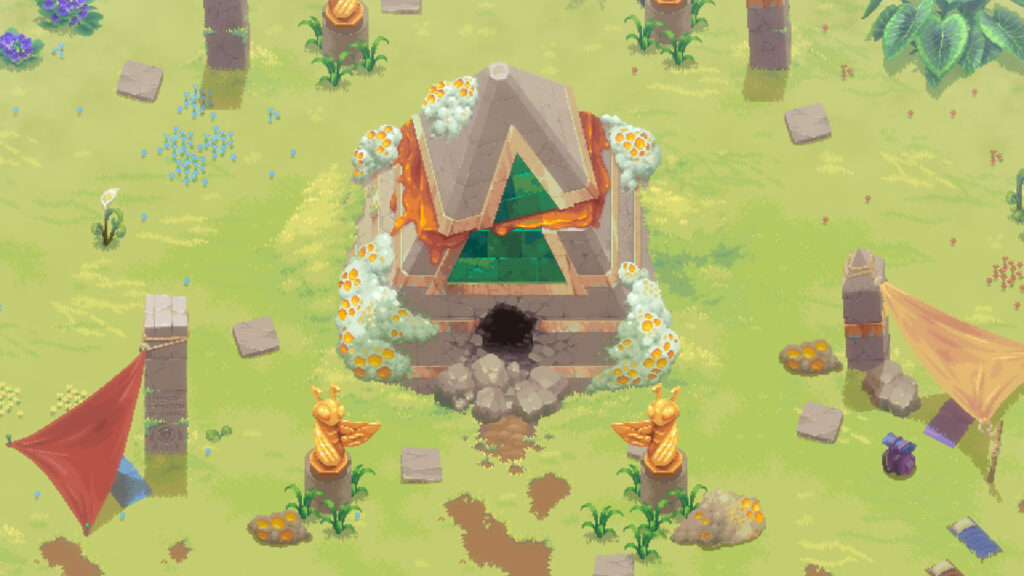
Amber Specter: This colossal foe is highly resistant to adverse effects and deals damage to all players, making the fight a race against time. Its abilities alternate between dealing heavy hits and generating powerful shields.
Strategy:
- Destroy the bees! Their hindering abilities can quickly overwhelm your party.
- Ensure you have a Healer in the party. Mitigating damage early will make surviving to the end much easier.
Locations:
- Roams the Queen’s bathroom, right in front of the mosaic.
- Appears when you make an offering of 10 Amber Crystals at the Golden Door in the second area.
Gargantuan Beetle: Don’t let its appearance fool you. This creature can deal as much damage as it can endure. It deals damage to all foes equally and is adept at shaking off negative effects.
Strategy:
- Exploit its vulnerability to Magic Damage to maximize your attacks.
- Periodically, it will focus massive damage on a single player. Rotate its attention between party members to mitigate the impact.
Location: The mirror buried in the maze, behind the amber vault on the north end.
Honeykeepers: These fiercely loyal brothers will do anything to protect their queen. Their tactics focus on eliminating players one by one, creating opportunities to overwhelm the team.
Strategy:
- Concentrate your attacks on one brother at a time. Leaving both alive strengthens their effects and allows them to heal each other.
- Beware! Their attacks deal additional damage to players with buffs, so plan accordingly.
Location: Appear when you don’t make an offering of 10 Amber Crystals at the Golden Door in the second area.
Golden Queen: The Pyramid’s queen is a powerful foe, with immense strength and abilities that punish underprepared parties.
Strategy:
- A Tank is essential. The Queen’s sword attack is brutal and should be focused on a single target.
- Her charm ability is powerful. Be ready to counter if she forces an ally to heal or protect her.
- While the Queen quickly cleanses Status Effects, don’t hesitate to apply them for a quick burst of damage before her next Cleanse.
Location: Cross the Golden Door and reach the third area of the Pyramid. At the end of the room, talk to the Honey Vortex.
Build Guides by Sporkly, 1ogic, and HalfbloodNerd, Venom Viper
We’ve seen some amazing guides by your fellow wizards. Here are just a few to help you on your journey!
FAQs

How do I craft my level 20 gear?
After the tutorial, talk to Selene, the fairy next to the City Stone to level up and receive FAE Essence to craft items released in this Beta. Items from the previous Beta will require different materials.
Why do I mint cosmetics from my item inventory now?
We are transitioning away from the Account Inventory model and making one unified inventory system for all your Runiverse goodies. During this transition period, the old Account Inventory will still exist for previously mintable items like Watcher’s Rings, Quantum Gifts, Real Estate, etc. but these will be integrated into the primary inventory system in time so it can be more straightforward and convenient.
Will my cosmetics get wiped if I don’t mint them?
No, they will remain in your account if you do not mint them and will not be wiped going into future builds. Additionally, Cosmetic Recipes will also be retained.
What is Quantum Essence? Will it get wiped?
Quantum Essence will be used for crafting cosmetic items. They will not be wiped, and carry over into future builds.
Where can I learn more about Quanta and rewards?
Check out the quick start guide: https://runiverse.world/crash-the-runiverse-date/
How do I earn Mana?
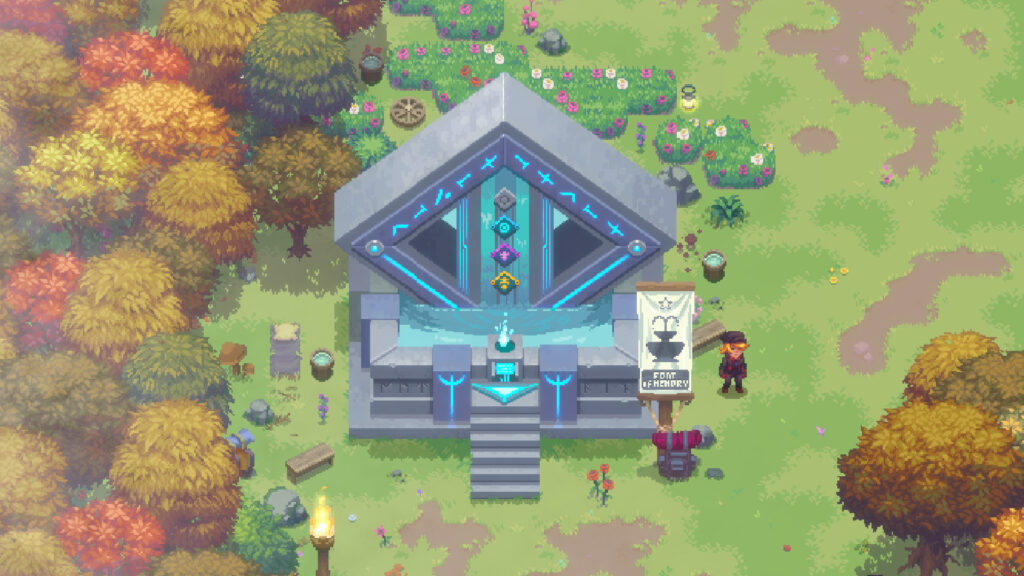
Complete Dungeon for materials and recipes → craft items from materials and recipes → sacrifice items for Mana to qualify for the airdrop and use the Font of Memory gacha for rewards
Do I still qualify for the Quanta airdrop if I spend my Mana?
Yes. Mana purchased or earned is all that will count towards the airdrop. What you do with the Mana after will have no effect on your airdrop.
“Can I still earn Land?”
Yes, Land is still in the Font of Memory. It is no longer guaranteed, so it must be earned by chance.
How do I mint Closed Server Test items?
These items aren’t mintable. They’re just placeholders — they can be ignored.
Best Practice for Bug(bear) Reports
Our QA team is looking for three things in your ticket: problem, action, and location
- Problem: Describe the problem you’re having
- Action: Tell us what you were doing in the game when you encountered the problem
- Location: Tell us where you were in the game when you encountered the problem
The more details, the better! Including the following information will help us identify and resolve the issue faster:
- Screenshots
- Are you playing solo or in a party?
- What browser are you using?
- Are you using a VPN?
- What device are you using?
- How are you connected to the internet (wifi, ethernet, or mobile data)?
Common Bug(bear) Solutions
Problem: “Omens aren’t giving me better rewards.”
Solution: Omens are designed to boost your chances of earning more rewards. Using multiple Omens gives you an edge, but luck still plays a role. In rare cases, a player with three Omens could have an unlucky streak and end up with similar rewards to someone with no Omens who got very lucky. If only a few players experience this scenario, it might come down to individual circumstances, but we’re closely monitoring player feedback to ensure Omens are working as intended. We’re committed to continuously improving the system based on your experiences.
Problem: “I completed the tutorial and talked to Selene, but I can’t get to level 20.”
Solution: Create another character and go through the tutorial again. This shouldn’t happen a second time.
Problem: “All I see are clouds on the screen.” OR “I can’t teleport.”
Solution: Make sure you’re using the correct URL to access the Forgotten Runiverse (https://game.runiverse.world/) and consider toggling Low Graphics in the settings
Problem: “Where’s Alberto? The Learning the Ropes tutorial is already complete for my new character, but I haven’t even started it.”
Solution: This is intentional. The game can tell you’ve already completed the tutorial, so you’re experiencing a shortened version. All you need to do is craft your spells and comfy robes to continue.
Problem: “When I enter the fight, I don’t see any monsters. Just the background.”
Solution: Try using a different browser.